This Home School activity is suitable for children from late primary stage (with supervision) to early secondary.
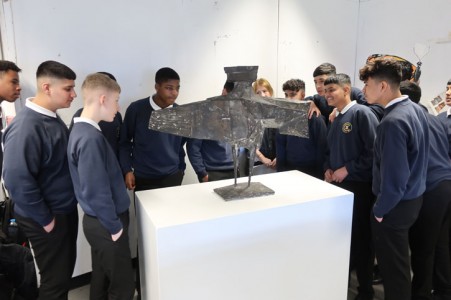
This activity is inspired by a unique sculpture held by the Arts Council of Northern Ireland – Brendan Jamison's Yellow Helicopter. It is one of a series of sculptures in which the artist goes against stereotypes attached to objects viewed as tough, heavy and masculine by softening them in a coating of bright colourful wool!

Brendan made the helicopter out of wood, painted it yellow and then attached hundreds of lengths of wool to the structure. The artwork is assembled into four sections, all hidden away under the lengths of wool which are tied and knotted into place.
Yellow Helicopter
2006, wool & wood sculpture by Brendon Jamison (b.1979) 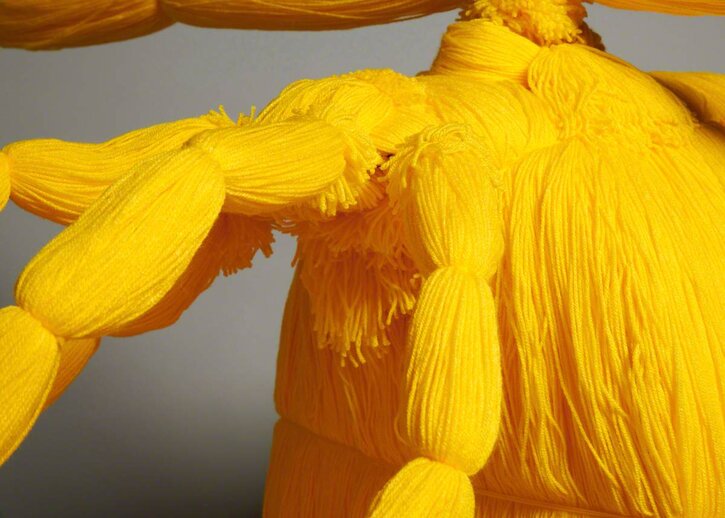
In the following video, the artist explores why he chose a helicopter, why he uses wool and why it's yellow. He also gives a demonstration of an activity you can do at home – detailed written instructions can be found below.
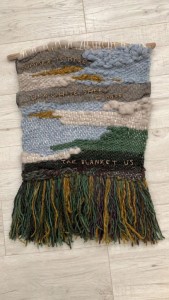
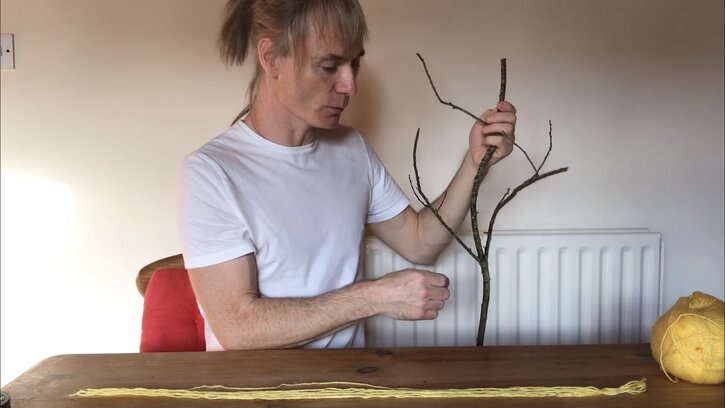
To create a small wool sculpture with a twig or branch, you will need:
- up to 10 balls of wool – you can choose one colour or even mix colours (a top tip is to check out local charity shops which often have unused balls of wool on sale at a cheap price)
- a pair of scissors
- clear sticky tape
- a twig or small branch. Look and see if any are lying on the ground first. Otherwise, request permission if you take one from a tree
- a flat surface (table or work surface)
Method:
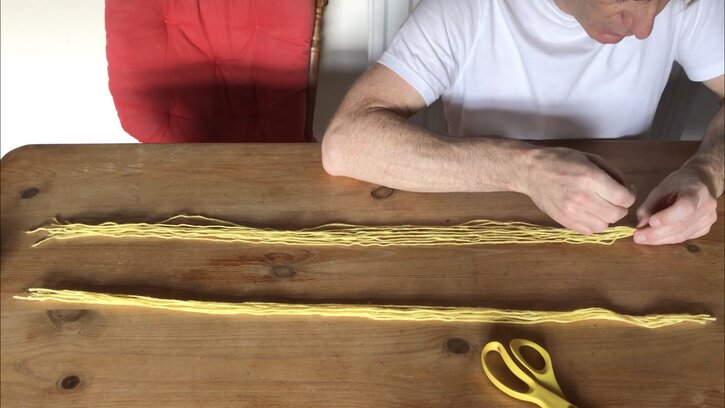
1. Begin by cutting 10 lengths of wool at 60 cm and line them out in a row.
2. Tape one end so all 10 strands are held together. This tape will be cut off at the end.
3. Repeat steps 1 and 2 so you have two rows of 10 strands each.
4. Select a branch that is about 50 cm long. Allow an extra 5 cm of wool at each end so you're not short after you cut off the tape.
5. Attach one set of strands on the back of the branch, one set on the front and then tape both together at the top.
6. Now cut some small lengths of about 20–30 cm. You will use these to tie onto the branch at intervals of about 7 cm along the branch.
7. Create a slipknot and tie tight at top of the branch. Then use the remainder of the wool length to tie another knot. Continue this process all the way down the branch, with knots about every 7cm. Once finished, cut the excess wool off the top and bottom of the branch.

8. Repeat this process on all of the other branches until you have completely covered the entire branch in wool!
For a more advanced sculpture, as Brendan outlines in the video, you can use garden wire (2 mm thick is easiest to cut and shape) to create a wire structure and then wrap it in wool using the same process as above.
Brendan also wraps objects that already exist, such as stairs and bannisters. For inspiration, check out these fantastic wool sculptures he created for an exhibition at the Millennium Court Arts Centre in Portadown, County Armagh.
Brendan’s 'In-Between' solo exhibition at the Millennium Court Arts Centre in Portadown, Co. Armagh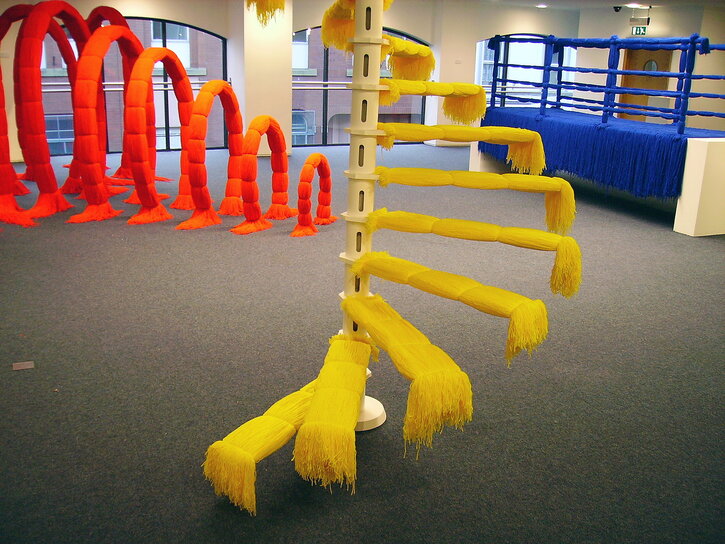
What can you create at home? Share your wool sculpture with us on Twitter or Instagram by tagging @artukdotorg with the hashtag #ArtUKHomeSchool
For more creative activities, check out our previous Home School articles or find some in-class inspiration on our Lesson Planning pages.
Shane Strachan, Learning and Engagement Officer (Scotland and Northern England) at Art UK