About this activity
This activity is based on an Art UK Homeschool workshop developed by sculptor Robert Erskine. Find out about the ideas behind Robert Erskine's work and make a paper sculpture inspired by his sculpture White Rhythm.
White Rhythm
2000, wrought & painted high-tensile steel by Robert Erskine (b.1954) 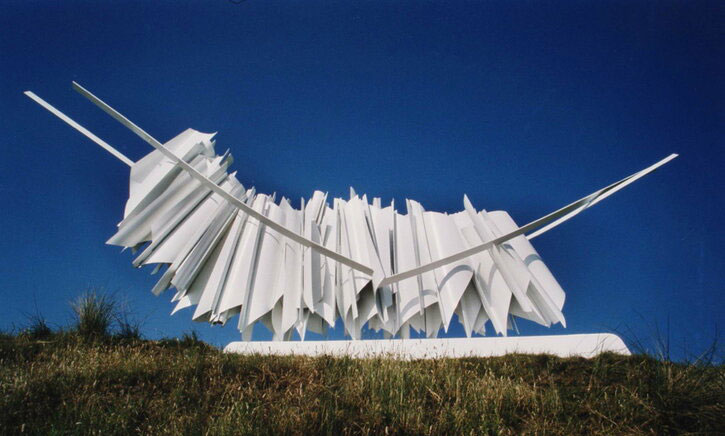
The Art & Design and Design & Technology activity is designed for KS 3/CfE levels 3&4 students and KS 4 /CfE Senior phase students.
About Robert Erskine and his sculpture White Rhythm
Robert's work is influenced by his curiosity about the world around him. He is particularly fascinated by people moving together in cities and he enjoys observing the way each individual figure becomes unrecognisable, forming one huge 'humming and buzzing' mass.
Shoppers in the West End of London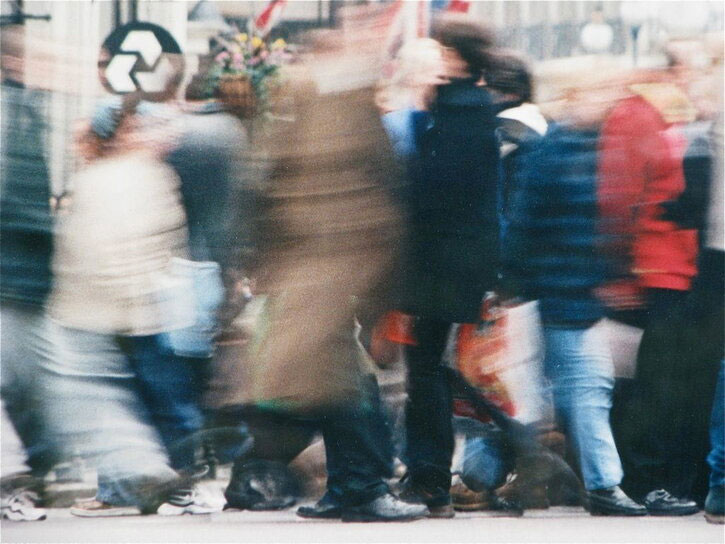
His sculpture White Rhythm is based on this mass movement of people and the rhythms and patterns created by bustling crowds. Robert sketched his observations of crowds shopping on the busy streets in the West End of London.
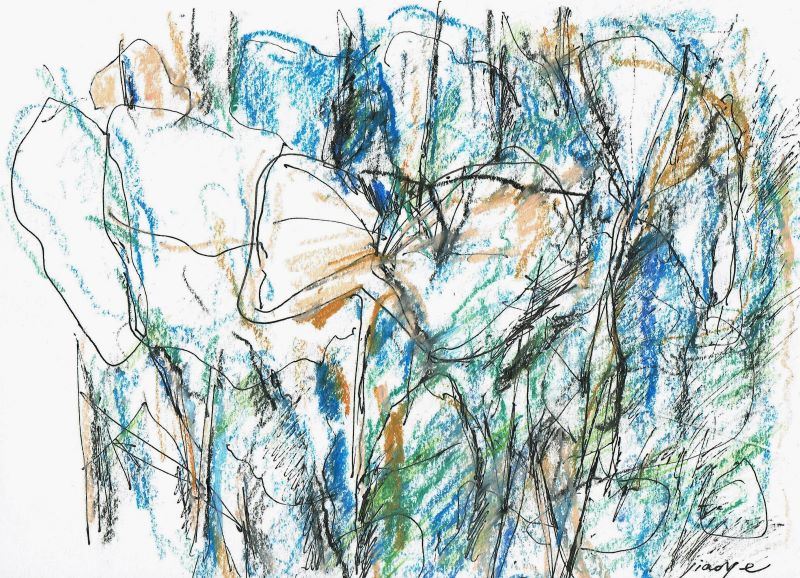
Sketch of a crowd of people by Robert Erskine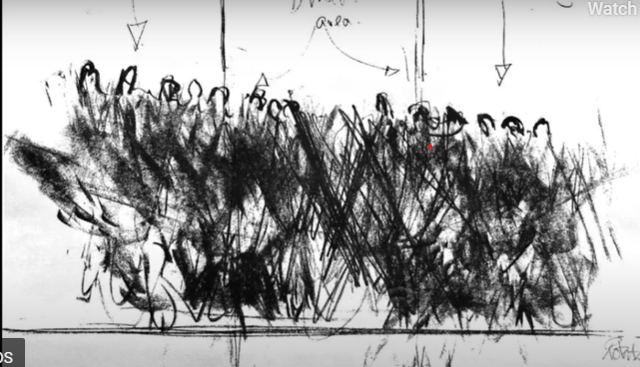
He then made small 3D studies – or maquettes – based on these sketches. Each study became more abstract by removing detail that we can immediately recognise such as heads, arms, clothes and shopping bags. Robert describes White Rhythm as the one piece in his study that he felt was the best representation of what he was seeing and feeling.
Small 3D study of crowds of people
model by Robert Erskine (b.1954) 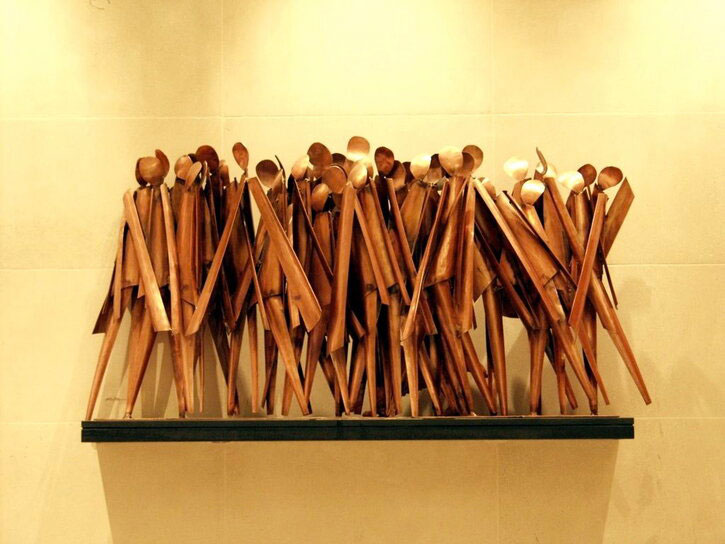
In 1999, Robert was commissioned to represent Great Britain at the international culture symposium 'Sea and Steel' and presented one of his maquettes for White Rhythm. Robert wanted to bring the crowds of people he had observed on London's Oxford and Regent Street to the seashore in the Netherlands.
Robert Erskine talks to Queen Beatrix of the Netherlands in front of 'White Rhythm'
Robert's idea was successfully realised in 2000 as a large-scale steel sculpture measuring 8 by 12 metres. It was erected on the edge of a huge industrial site on the Dutch coastline, overlooking the sea.
Activity instructions
Materials
You will need
- pen or a pencil
- scissors
- paper (you could use recycled paper for this)
- glue stick
- cardboard, e.g. cereal box for the templates
Step 1. Print out (or draw) the templates
Robert Erskine's rhythm sculptures are made from lots of separate pieces which Erskine calls 'modules'. These are attached together. Begin by printing out the template sheet for the modules (provided below). Cut out the shapes from the paper template and stick these onto card to create sturdy shapes you can draw around.
To save and print the template, right-click on the image.
Right-click to save and print this template
If you don't have access to a printer you can draw the shapes using a ruler or straight edge onto your card.
Step 2. Draw around your templates
Place your card template shapes onto your paper. Maximise the whole use of the page by placing the template shapes edge to edge, using a mix of the different-sized shapes across the paper.
An example of Robert's templates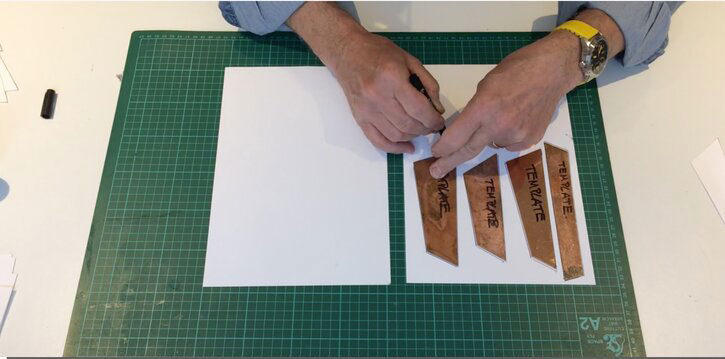
Draw around the templates and then cut the shapes out.
You will need around 30 to 40 cut-out shapes.
Step 3. Fold your cut-out paper shapes
Once you've cut out your shapes, fold them gently into slightly curved flutes.
Robert's example of a 'flute'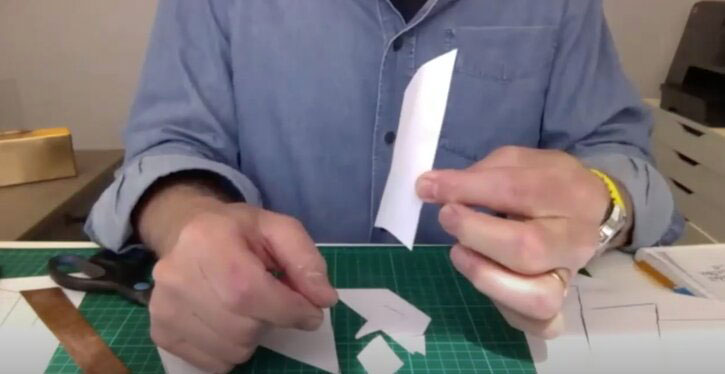
Lay the tall and short flutes together and glue them together edge-on-edge. Repeat this with around 30 to 40 cut-out shapes to build up a substantial paper sculpture.
Step 4. Make legs for your sculpture
Now the main body is completed, make legs for your sculpture so that it can stand upright.
To do this, cut out a piece of paper the same height as your sculpture.
Fold it in half lengthwise and glue the two halves together to form a thin sturdy rectangle. Slot the leg into your sculpture.
Robert folding the feet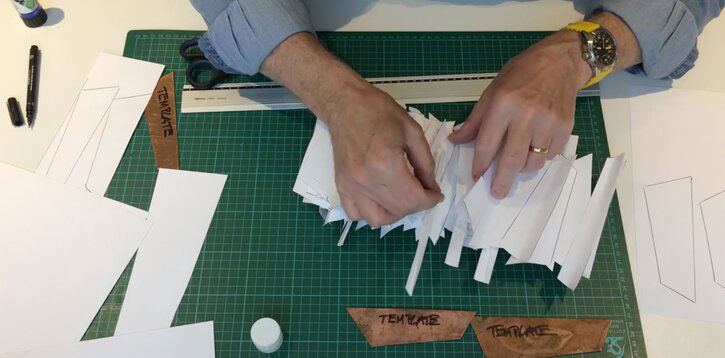
Repeat this until the sculpture stands up on its own. It may need 4 to 6 legs.
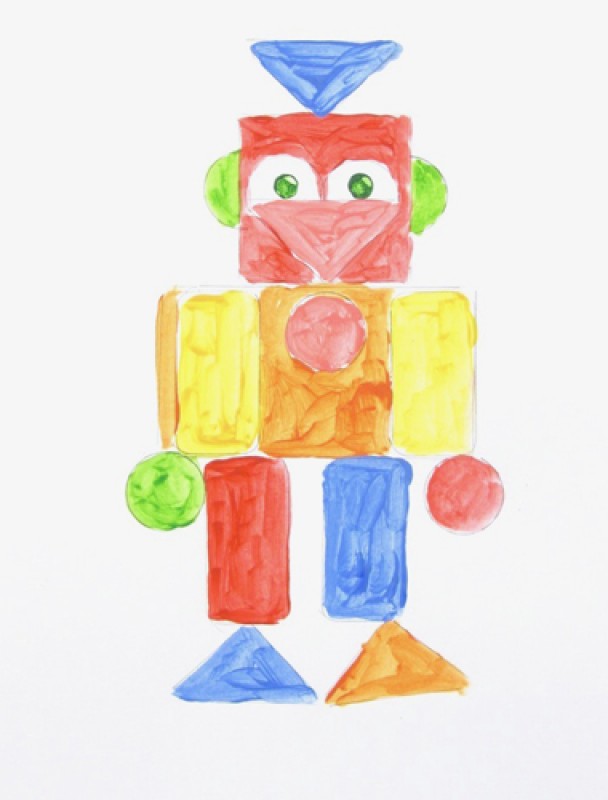
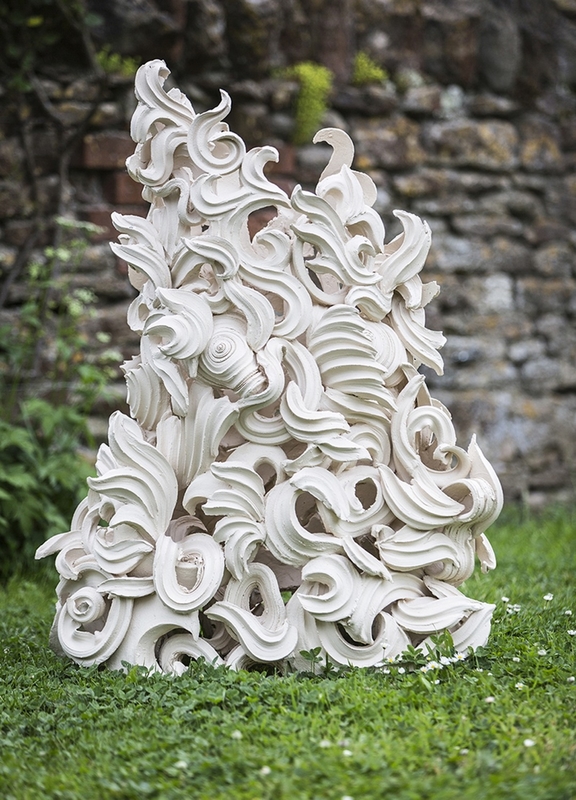
Robert's finished paper sculpture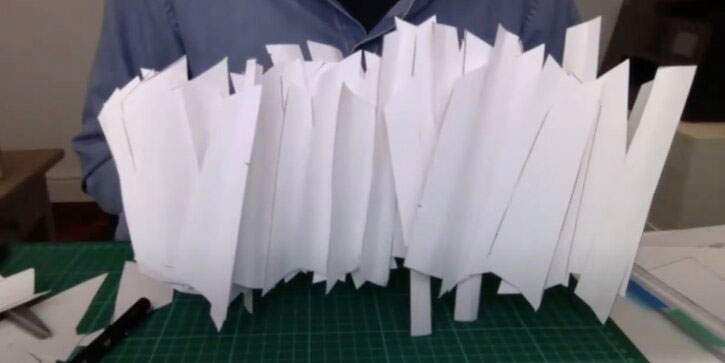
Watch the Homeschool video for more detailed instructions
Watch the video below to see the original online workshop and hear Robert Erskine talking about his ideas and inspiration with Art UK Learning Officer Katie Roberts. The video was filmed during the coronavirus lockdown in 2021 as part of Art UK's Homeschool series.
To watch Robert Erskine demonstrating the making activity, start the video at 8:40.