Something Plastic to Fight the Invisible
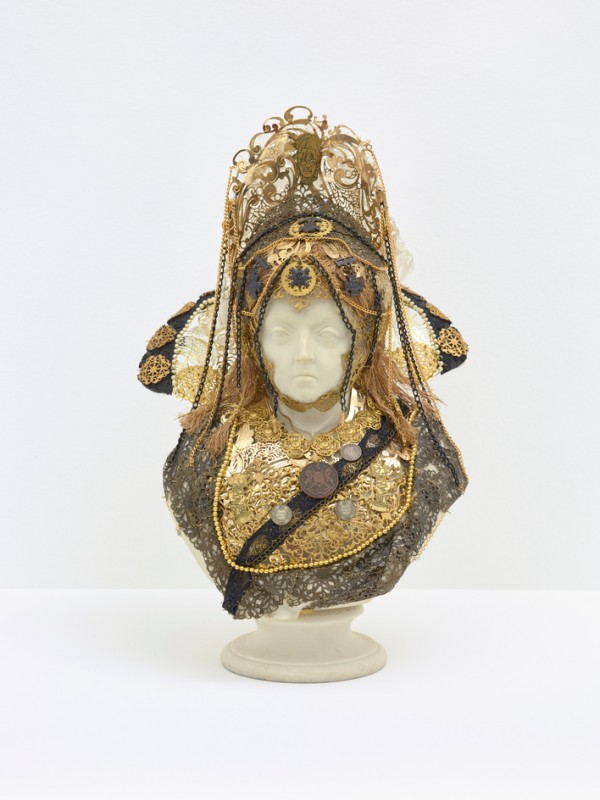
Mark Titchner's 2001 sculpture, Something Plastic to Fight the Invisible (English Language Golem Perimeter), is made from round wooden boards with circular weavings and working lightbulbs which have been attached to five metal stands. Titchner works across a wide range of media and his artworks are sometimes multi-sensory. His art often explores communication, perception and tensions between different belief systems.
Something Plastic to Fight the Invisible (English Language Golem Perimeter)
2001
Mark Titchner (b.1973)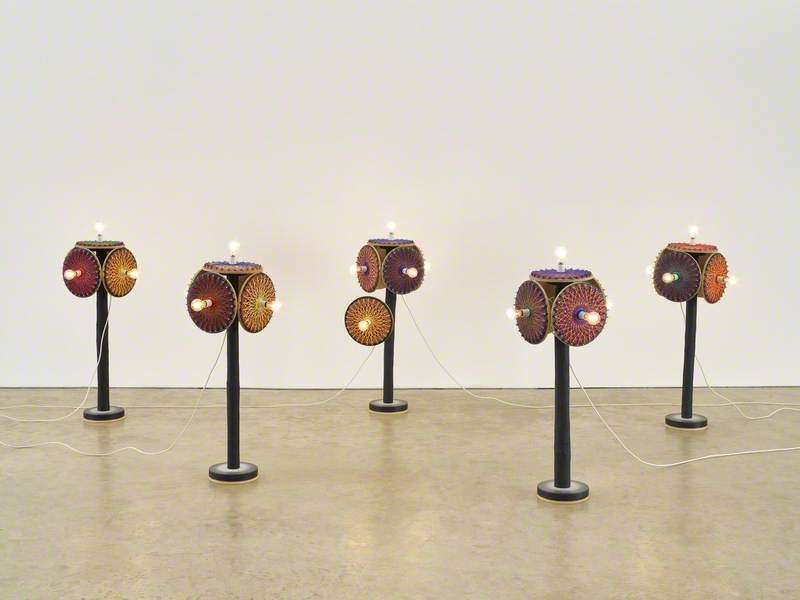
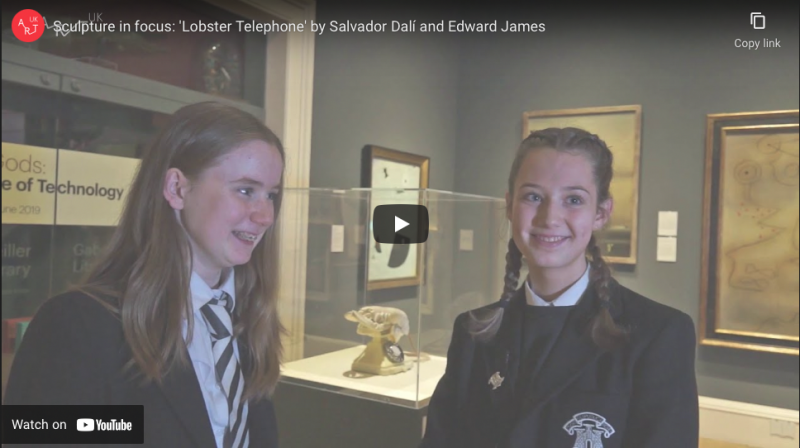
You may wish to show your students a short clip from the following video (0:39–0:55) to familiarise them with the sculpture and the creative activities which follow.
Activity 1: Discuss the artwork
Show images of the artwork to your pupils. It might help to lower the lights in the room and open each image full screen.
The sculpture glowing in an otherwise dimly lit room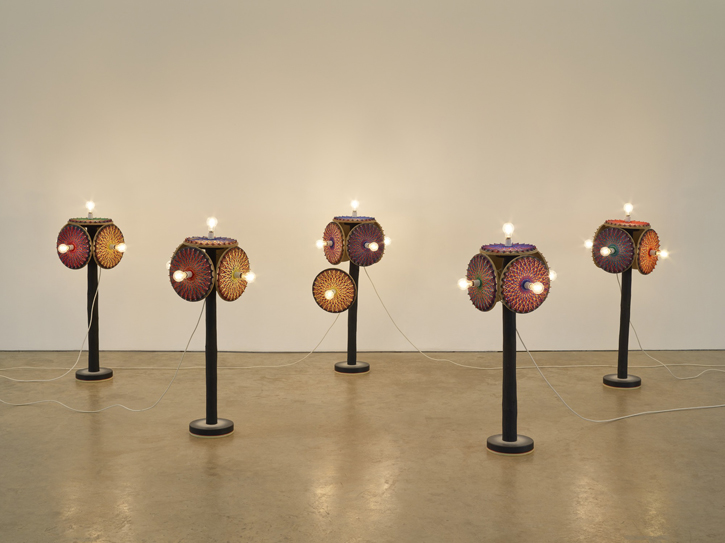
You may wish to ask them variations of the following questions and/or ask them to raise their hands in agreement:
- Do you like this artwork?
- What do you think it is made from?
- How is it different from other artworks you've seen?
- Where would you display it?
- If you could touch the artwork, how would it feel?
In connection with the sculpture's use of working lightbulbs, you could also switch the lights on and off in your classroom and reflect on how the different levels of light make your students feel.
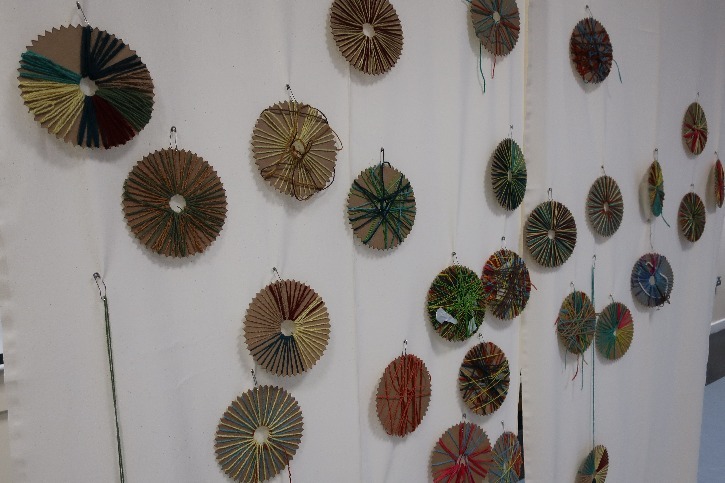
A close-up view of the woven panels with glowing lightbulbs
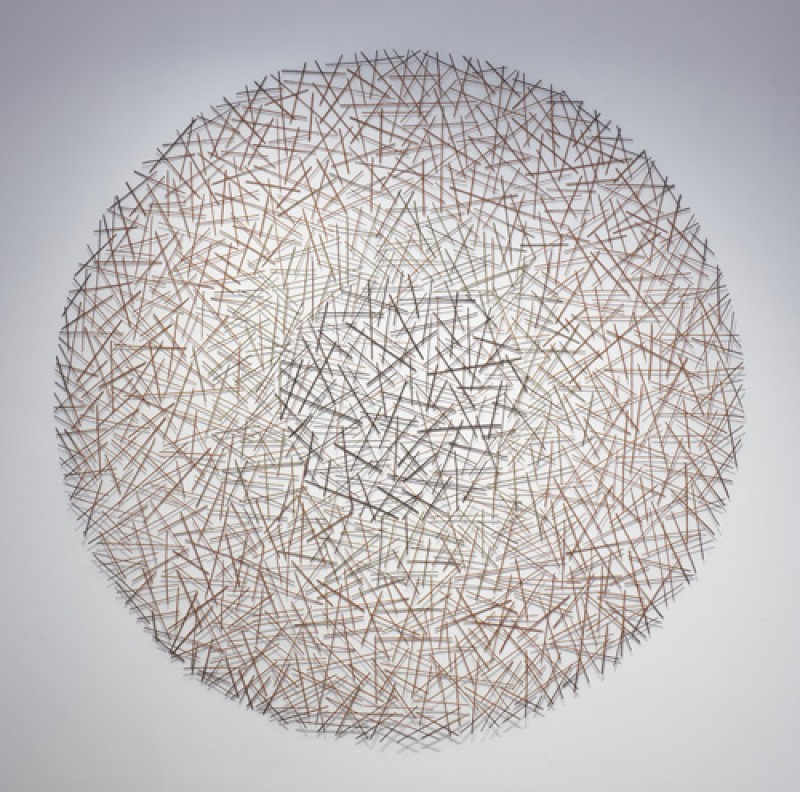
Before they move on to the activities, discuss the woven elements of the artwork in particular:
- What colours can you see?
- What do the patterns remind you of?
- Why might the artist have included these weavings?
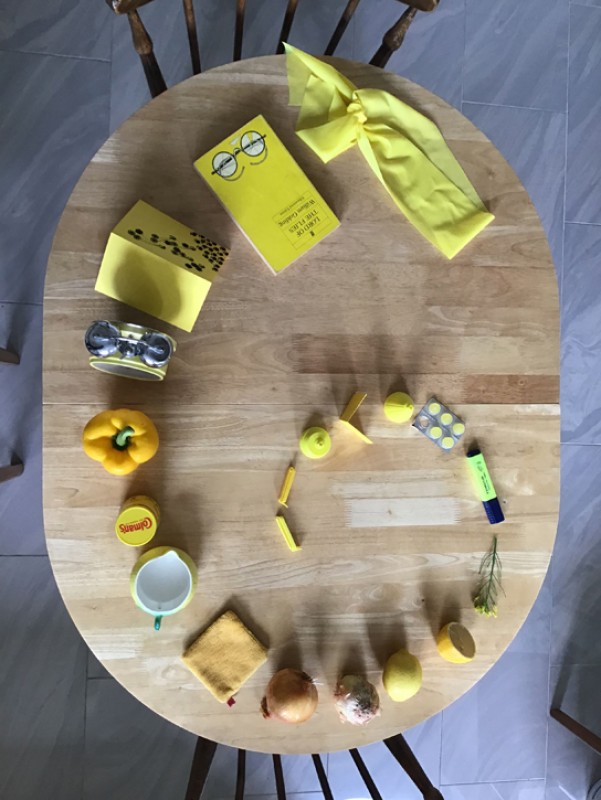
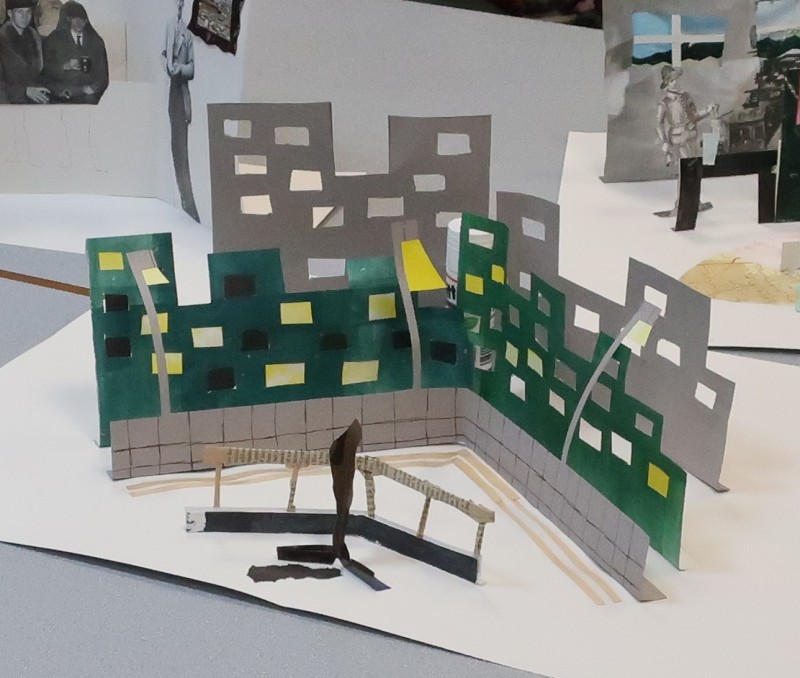
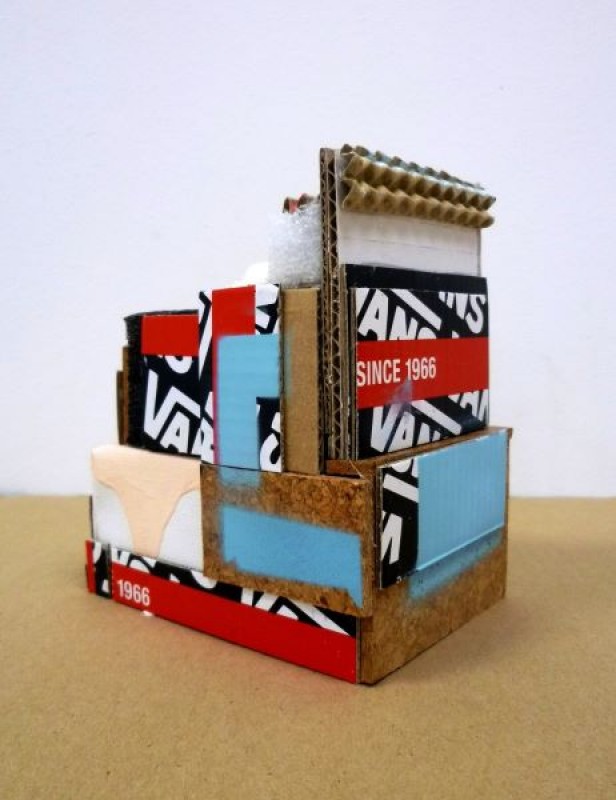
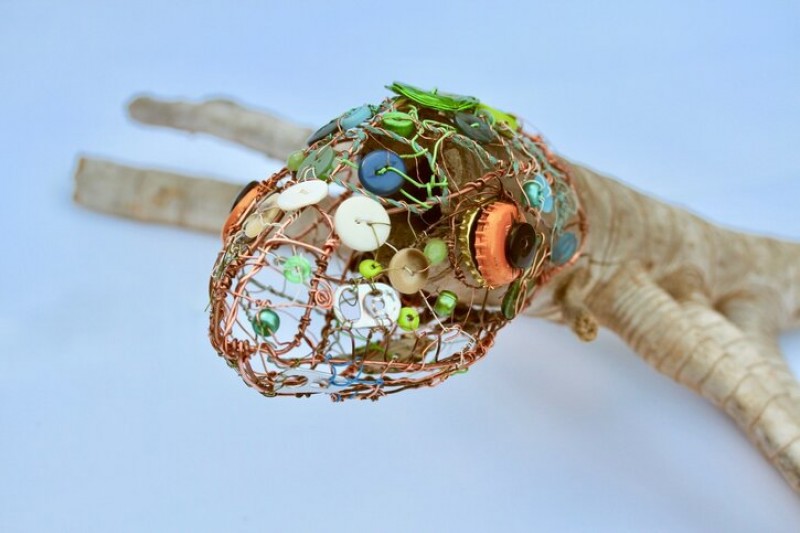
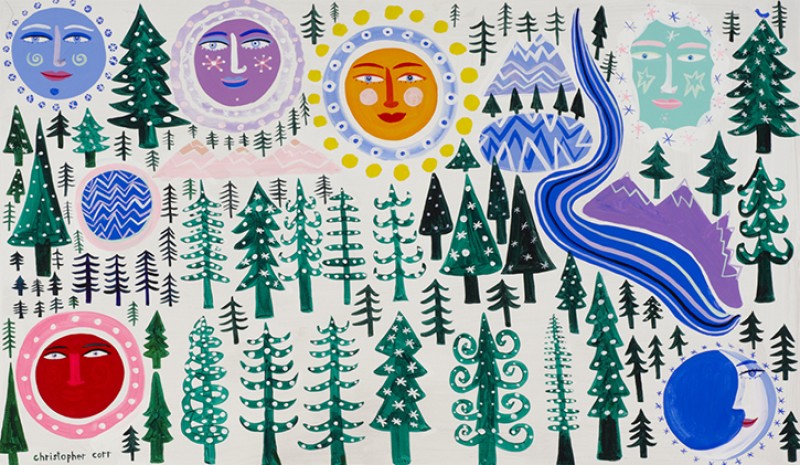
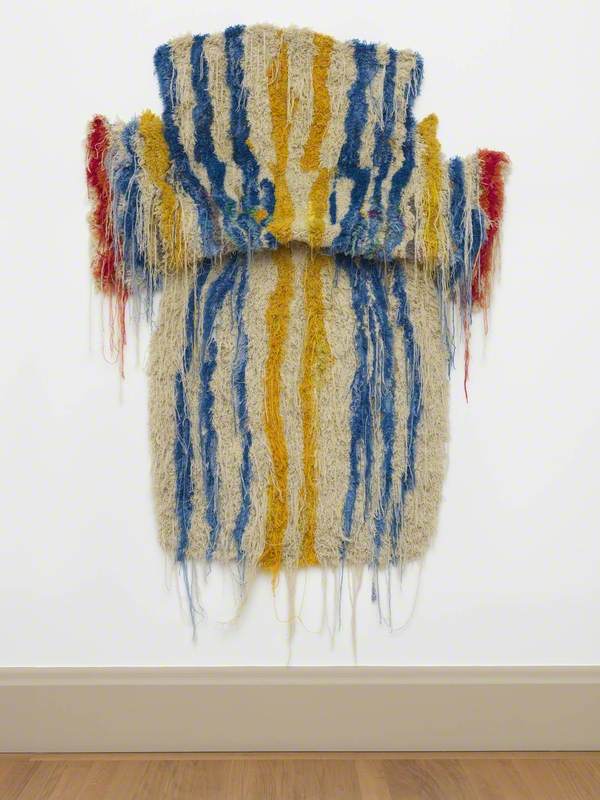
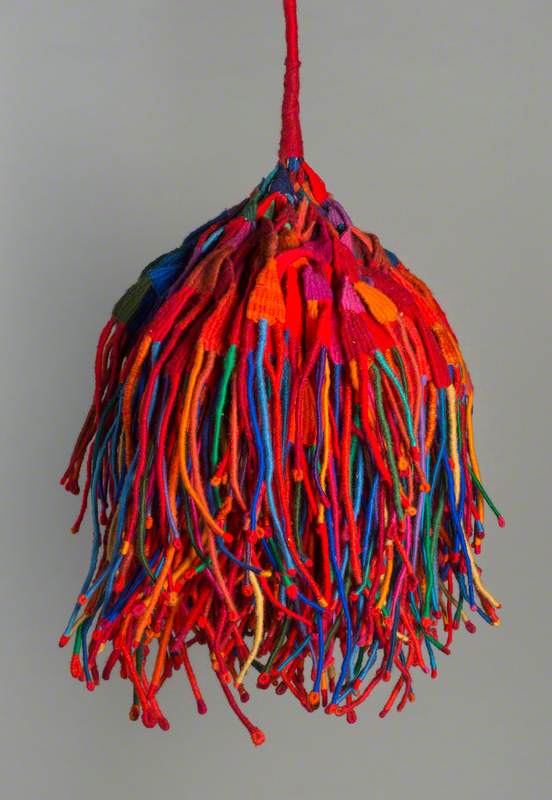
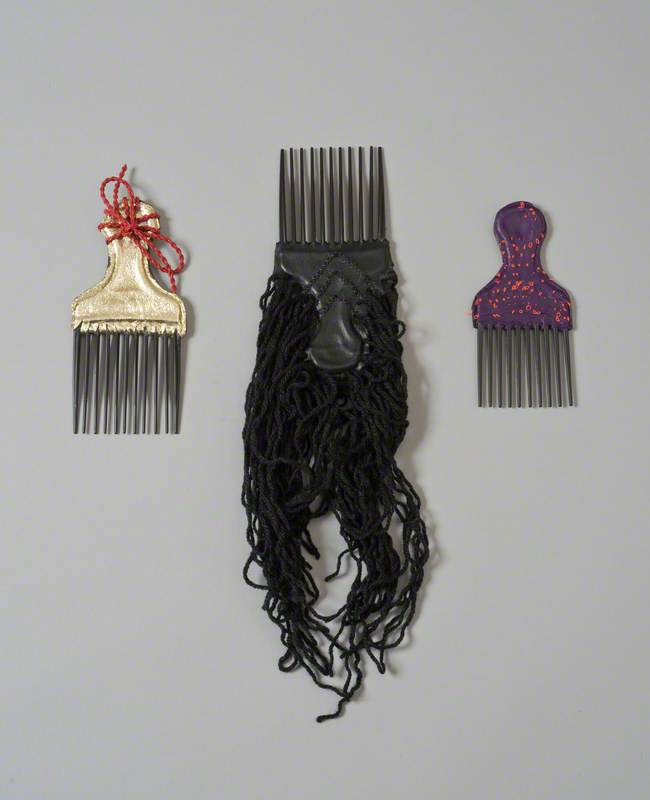
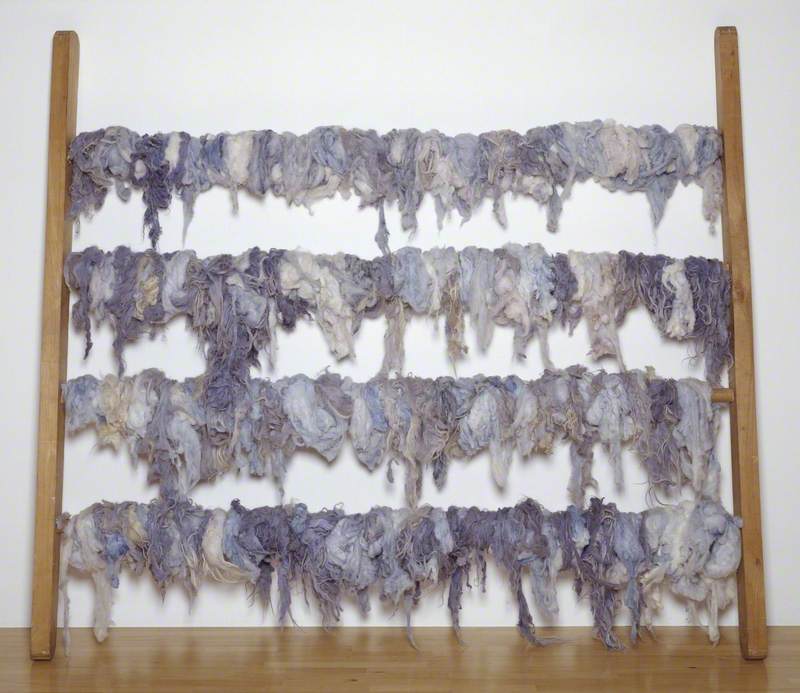
You may wish to discuss these other examples of weaving in art before you move on to the creative activities which follow:

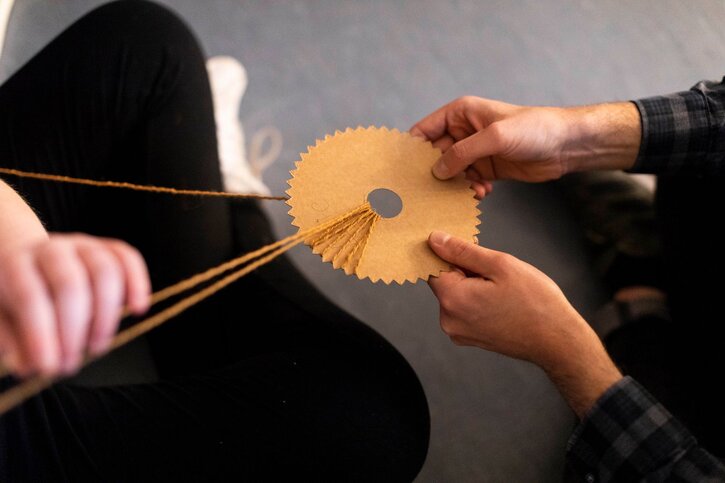
Activity 2: Create a large-scale weaving
For this activity, you'll need multiple lengths of ribbon in different colours, each around a couple of metres long. You should have at least one length of ribbon per student.
Ask your students (including teaching assistants) to arrange themselves into a circle in the middle of the room. You may want to split students into smaller groups if there are more than 10.
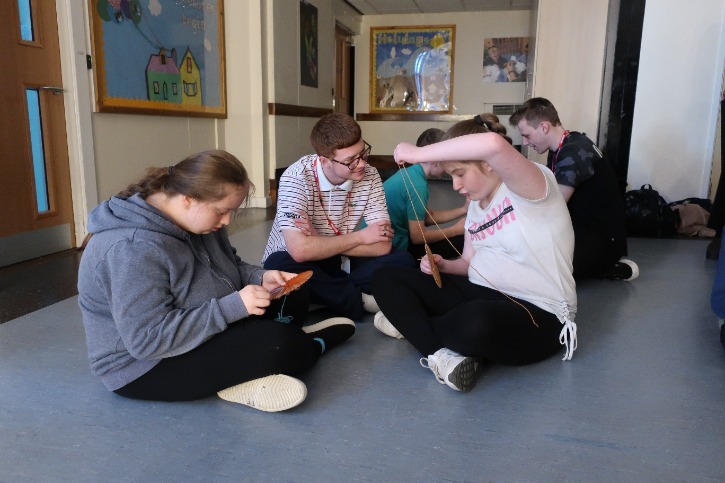
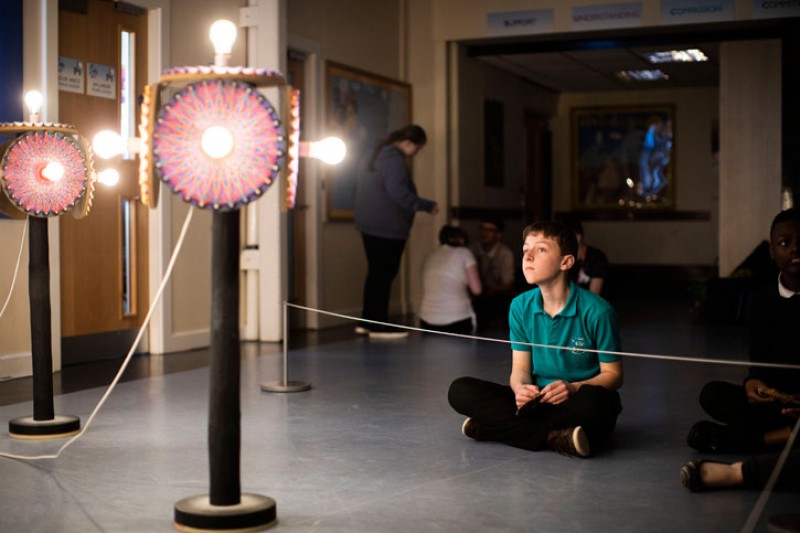
Artist Bethan Hughes and students take part in the large-scale weaving activity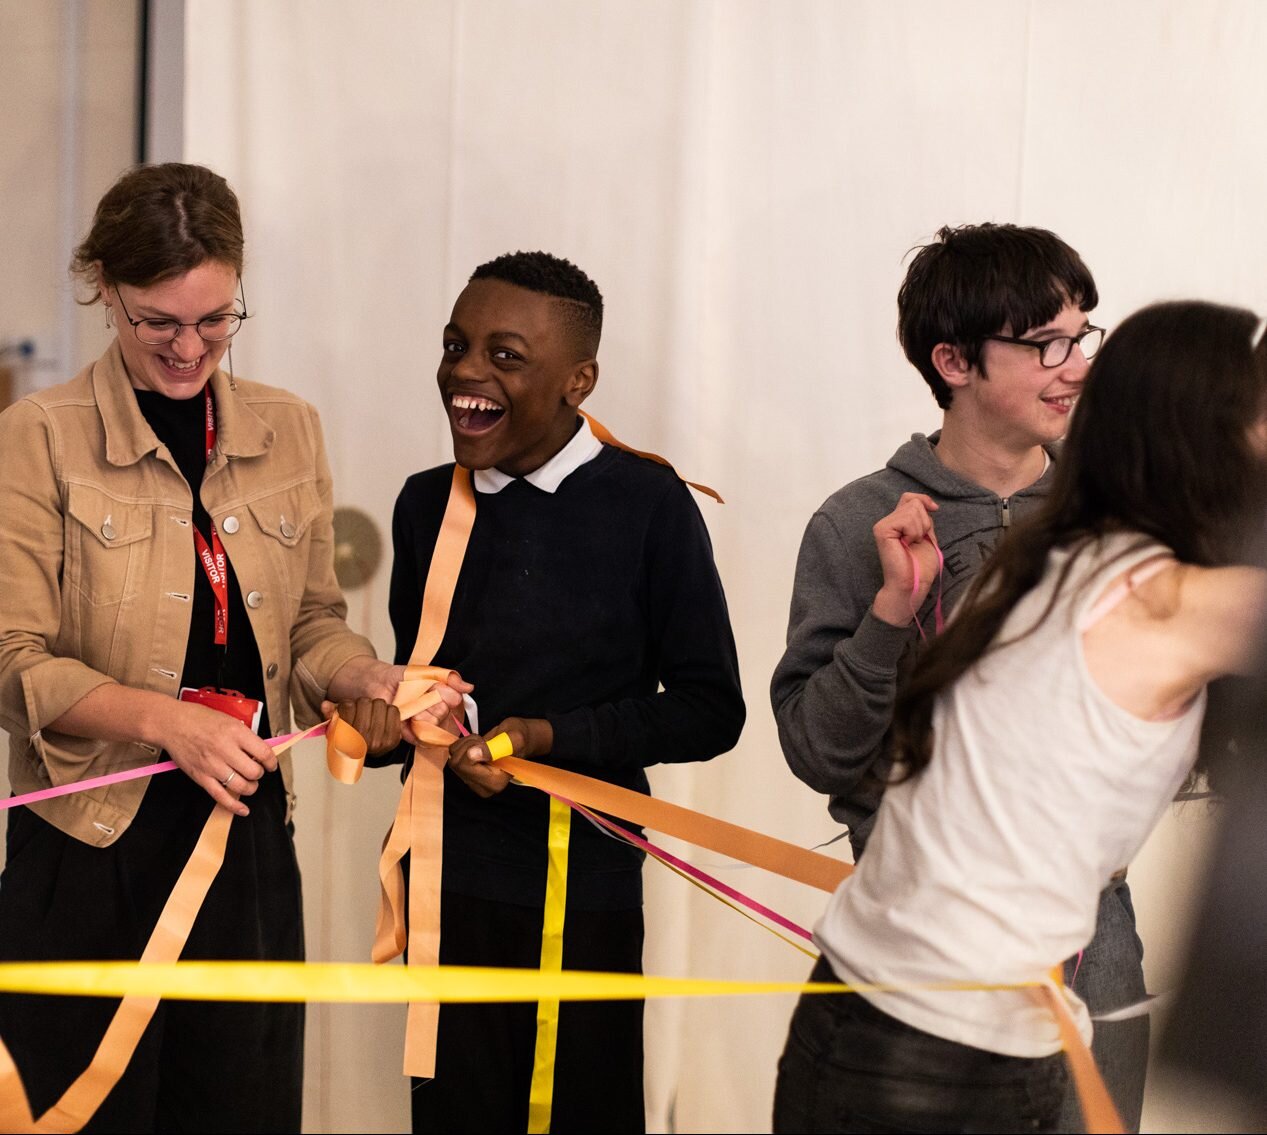
Ask each student to choose a colour of ribbon. Once they or their assistant are holding it, ask them who they would like to hold the other end, and pass the other end to that person. You may wish to ask why they have chosen a particular colour or direction for their ribbon to go.
Students create a large-scale weaving together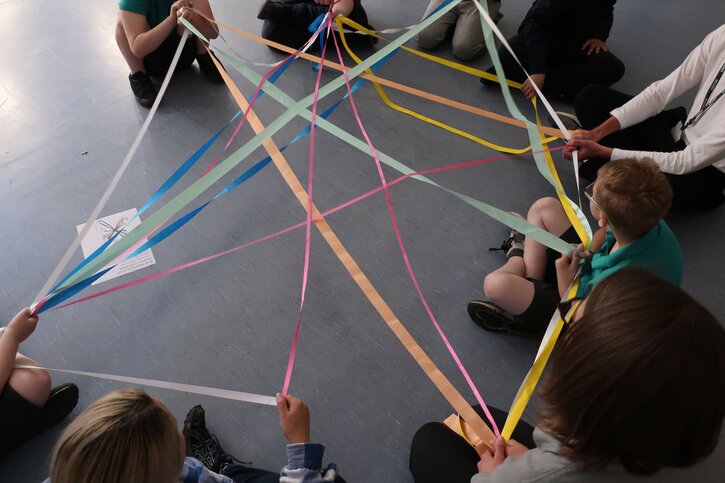
Repeat this as many times as possible, ensuring to weave the new ribbon under or over the existing ribbons each time. Reflect on the colour combinations and patterns that appear in the middle of the circle – what do they remind your students of?
Once you've run out of ribbon, you may wish to repeat the activity and allow different students to take on the role of the weaver.